Menu
Call This Saturday to Get $50 Off
Do You Need a Plumber in Dallas, TX? Call us Now to Get $50 OFF
4.8 / 5 Ratings based on 1384 reviews Great Plumbers, Great Reviews

Call This Saturday to Get $50 Off

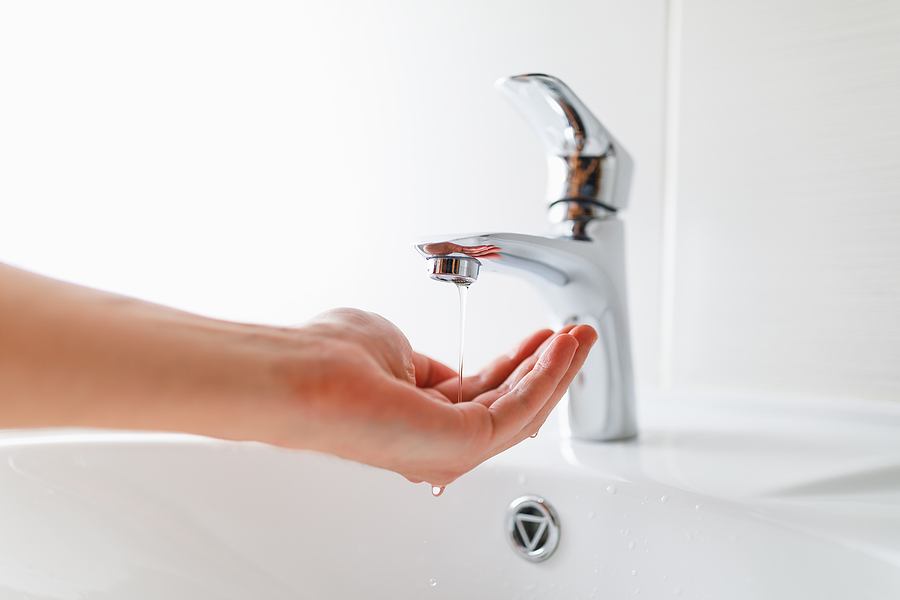
Leaky faucets can be an aggravating and expensive nuisance that many homeowners face. Not only does their inefficiency waste water and raise utility bills, but they could cause significant structural damage if addressed. While professional help from Mr. Rooter Plumbing may be required for more complex plumbing issues, performing a leaky faucet repair yourself may often be straightforward. This guide provides step-by-step instructions on how to do just that and save time and money!
Before embarking on any repair, gather all the tools for your bathroom or kitchen plumbing. These should include an adjustable wrench, flathead screwdrivers, phillips screwdrivers, pair of pliers, replacement washers/O-rings/plumber's tape/cloth, etc.
Locate and turn off the water shutoff valve underneath your sink to halt any potential water flow during the repair. This valve is usually found near pipes leading up to your faucet.
Remove the decorative cap on the faucet handle using an appropriate screwdriver to expose a screw that holds it in place and unscrew it before pulling out and unthreading the handle from its place. Use pliers if necessary to loosen an especially stubborn one.
Once the handle has been detached, locate and loosen the packing nut beneath. Use an adjustable wrench to loosen and remove this part, exposing the valve stem.
As part of inspecting your valve stem, carefully examine its washers and O-rings for signs of wear or damage that could be causing leaks in your faucets. Any sign of degradation or cracks should be promptly replaced for optimal performance.
Remove and install new washers and O-rings of equal size and type with care, ensuring they fit tightly.
Once the new washers and O-rings have been installed, reassemble your faucet in reverse. Slide the valve stem back in the faucet body before tightening the packing nut securely before reattaching your handle with screws to secure its placement securely, and replace any decorative caps or covers lost during disassembly.
After reassembling the faucet, reconnect its water source and check for leaks. Carefully open and close the faucet slowly as you watch for any signs of water dripping or dripping out from underneath its body; if any do occur, tighten any loose components further or repeat these steps until proper installation occurs.
To protect against future leaks and ensure an airtight seal, apply the plumber tape around the threaded portions of your faucet's threads clockwise and wrap. Doing this ensures a tight fit.
To extend the lifespan and avoid leaks in your faucet, it is vitally important that regular maintenance be conducted. Clean out the aerator regularly to clear away mineral deposits that might obstruct water flow and tighten any loose components immediately.
At Mr. Rooter Plumbing, we understand the inconvenient situation created by a leaky faucet can be. That's why our team of skilled professionals is committed to providing efficient and effective solutions for all your plumbing needs - including leaky faucets. When you choose Mr. Rooter Plumbing as your provider for leaky faucet repairs, expert technicians with years of experience will assess and diagnose the problem efficiently before offering recommendations that address its source.
DIY solutions may be adequate for minor faucet repairs, but it's wiser to leave this task to a professional plumbing repair service in certain situations. If you lack plumbing experience or encounter complex issues such as leakage detection issues that require expert knowledge to diagnose or are uncertain of their source - it would be prudent to contact Mr. Rooter Plumbing instead of trying to conduct them yourself, as this may cause further damage and increase repair costs in the long run. Our team possesses expert skills, specialist tools, and access to quality replacement parts to resolve the problem correctly and efficiently quickly - call now!

A garbage disposal leaking from the base has already failed internally, and no…
Read More+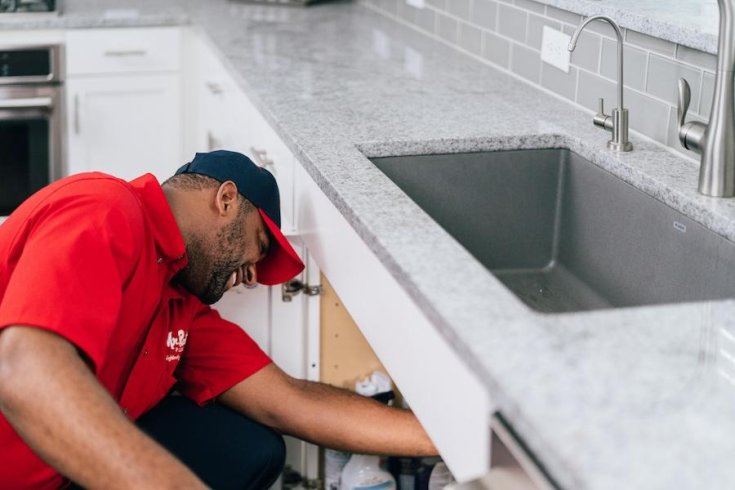
Kitchen drains handle more than most people realize. The buildup from grease, food, and soap…
Read More+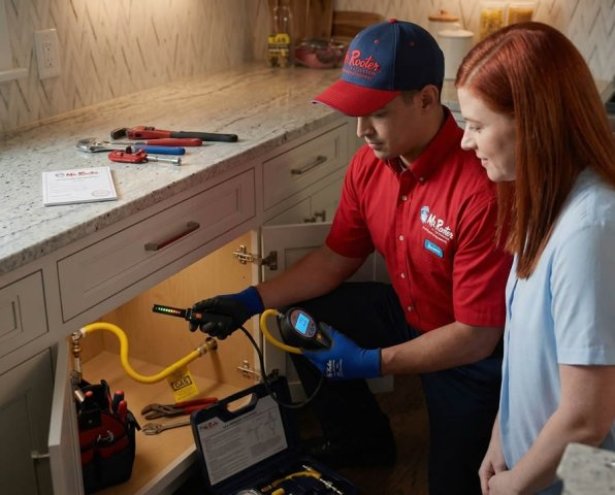
Most homeowners have no framework for recognizing underground gas line damage until conditions have already…
Read More+
Stepping onto a warm patch of floor on a cold morning might seem like a…
Read More+